

 I absolutely love a custom built-in closet DIY. You can get whatever configuration you want, and it all fits like a glove by the time you are done. However, what I don’t love about them is that they do take quite a bit of time to cut everything to fit and then fill/caulk all the holes and gaps so you can do lots of trim painting to get it all finished. Sometimes, it’s totally worth it and I’m so happy we did that in our main bedroom closet, but I wanted something a little faster/simpler for my daughter’s closet. I thought this simple closet system would be good since it can also be changed over time as she grows, and we would only have to unscrew a few things to change it out rather than knock out built-in shelves. Even though this is a kid’s closet, the principles are the same for adult closets (Emma actually has the same one for her closet in her bedroom) and the system I bought is meant for adult closets as well.
 The closet in Lola’s room had a very flimsy (and poorly installed) wire rack as the only organization when we first moved in. If it looks like each level and pole are crooked in the photo, it’s because they were! I knew right away we would need to redo the whole thing to make it more useful for her as she grows.
 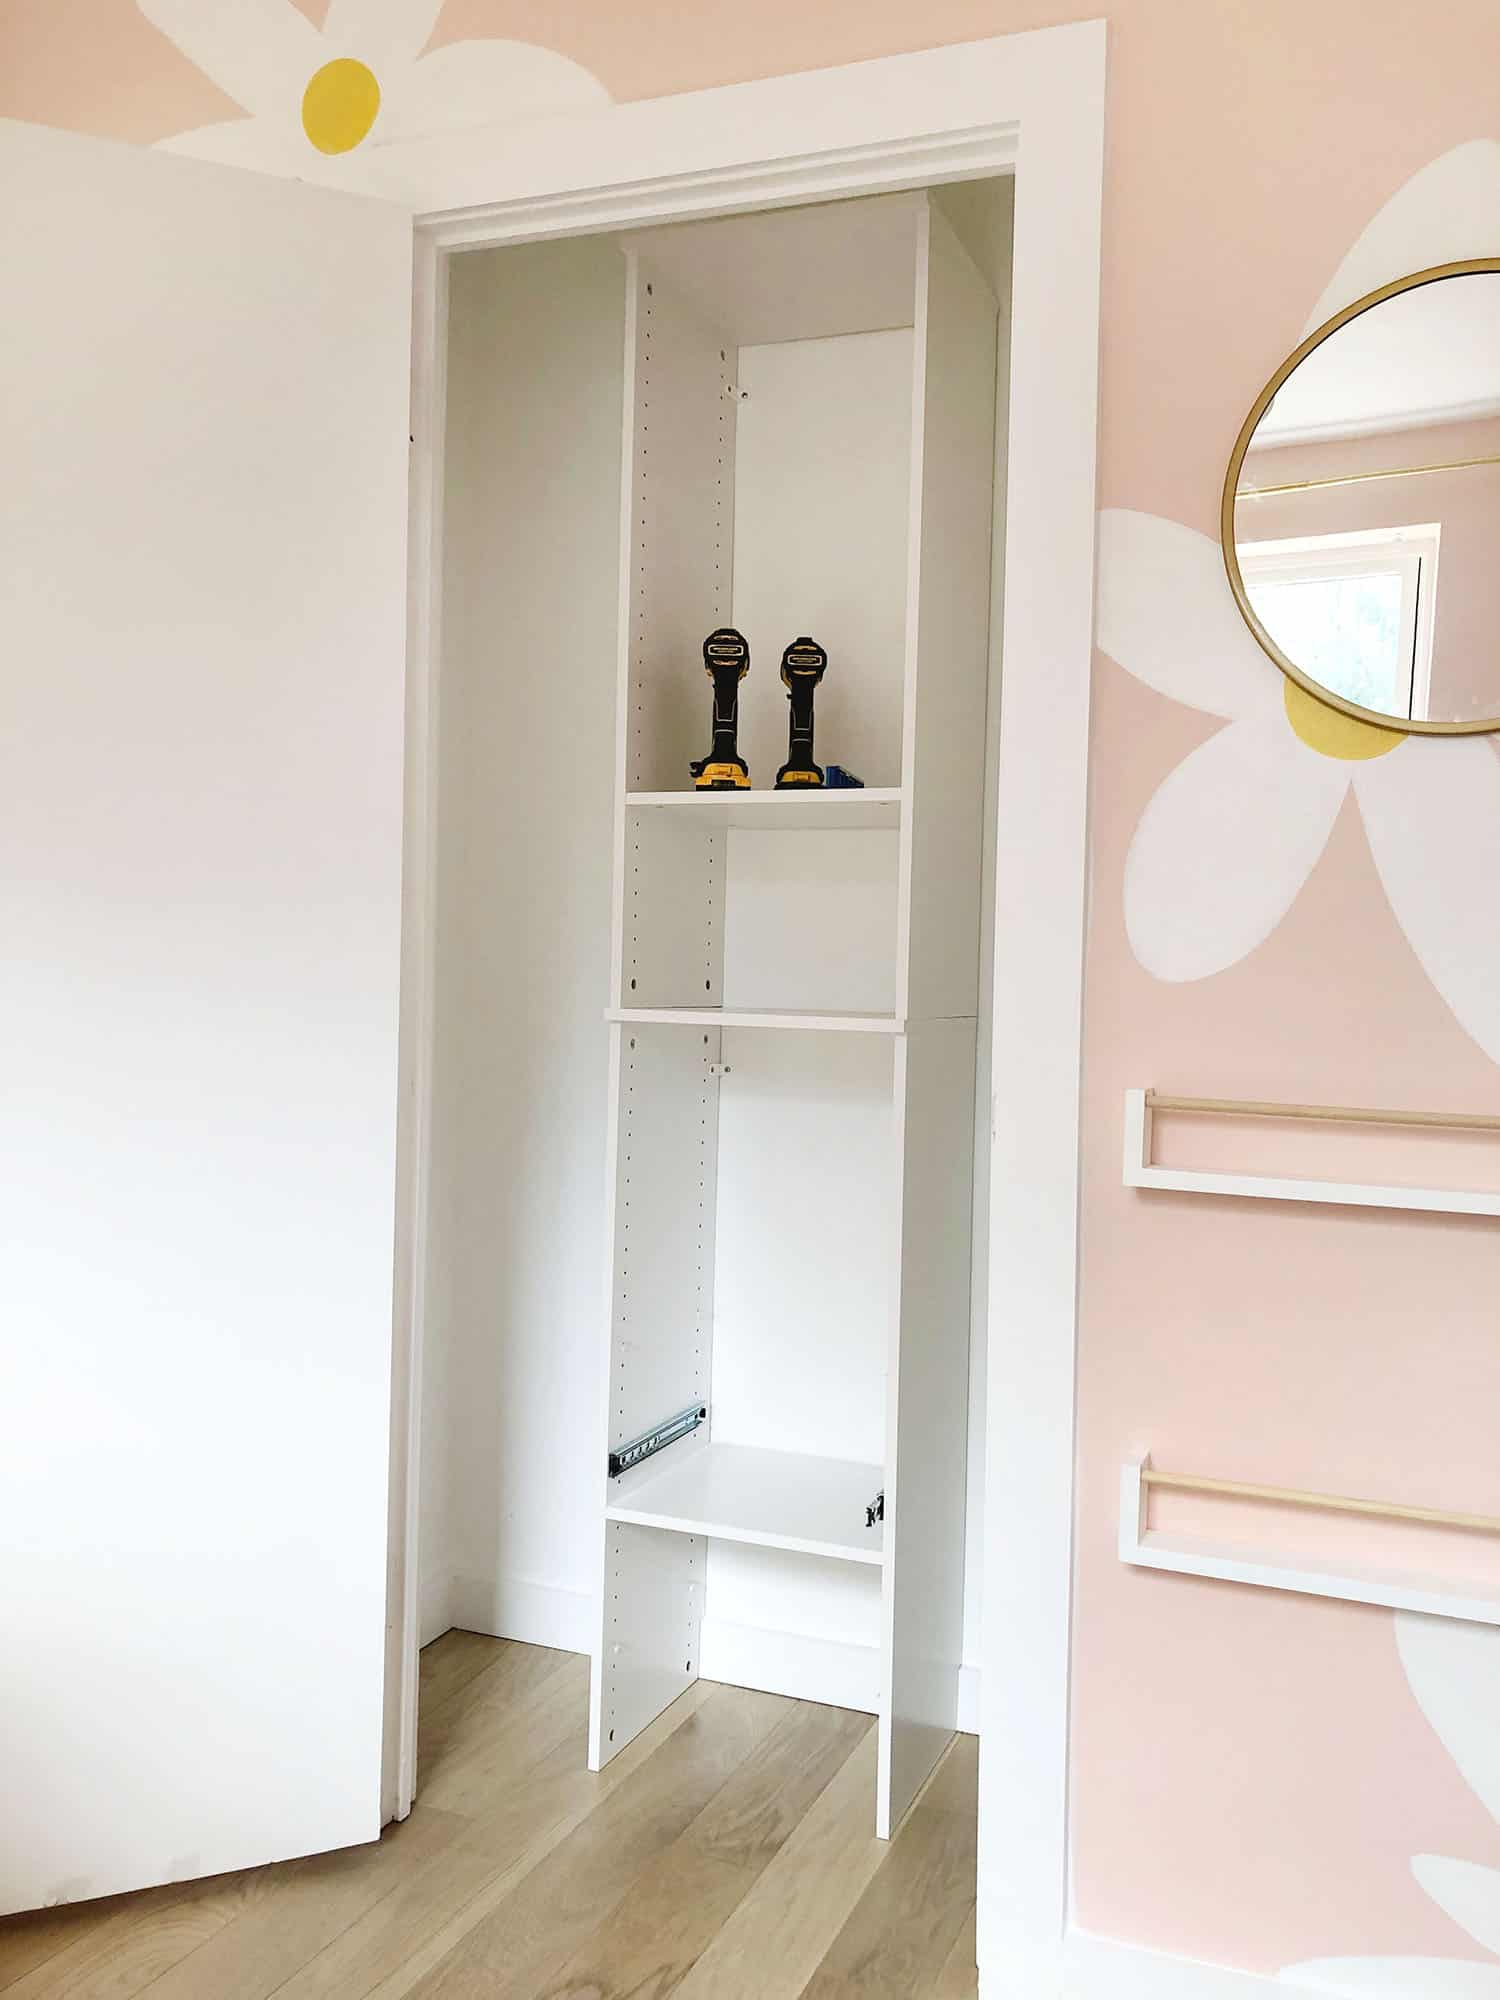 We pulled out the wood shingles when we removed the wire shelves and saw the shingles were hiding a lot of wall damage underneath, so we had to do some drywalling and a lot of patchwork before we could paint the closet and add in baseboards after we had new flooring installed on our main floor. Once we had a clean blank canvas, we were ready to add in the system and customize it to our needs! Here are the best ways to make a closet system work for you:
 1. Add a shelf wherever you need one (even if the picture on the box is different): Sometimes it’s easy to look at a closet system and think you have to set it up exactly like the photo shows, but that’s not the case at all! You really can add a shelf (I used these) or a clothing rod wherever you want, even if it’s not set up that way in the photo. The only thing you may need to do is to switch out a screw that comes with the system for a shorter one in case they assume you were attaching a shelf or rod where the material is thicker than the spot you’d like to place it (like going into the side of a shelf board can have a longer screw than if you are drilling into the panel between the shelf boards). A little tip when cutting boards like these shelf boards is to place painter’s tape over the area you want to cut before you draw on your final mark—the tape will help the board not splinter at the cut line when you cut it with a saw (you can use a circular, miter, jig saw, or table saw to cut your boards).
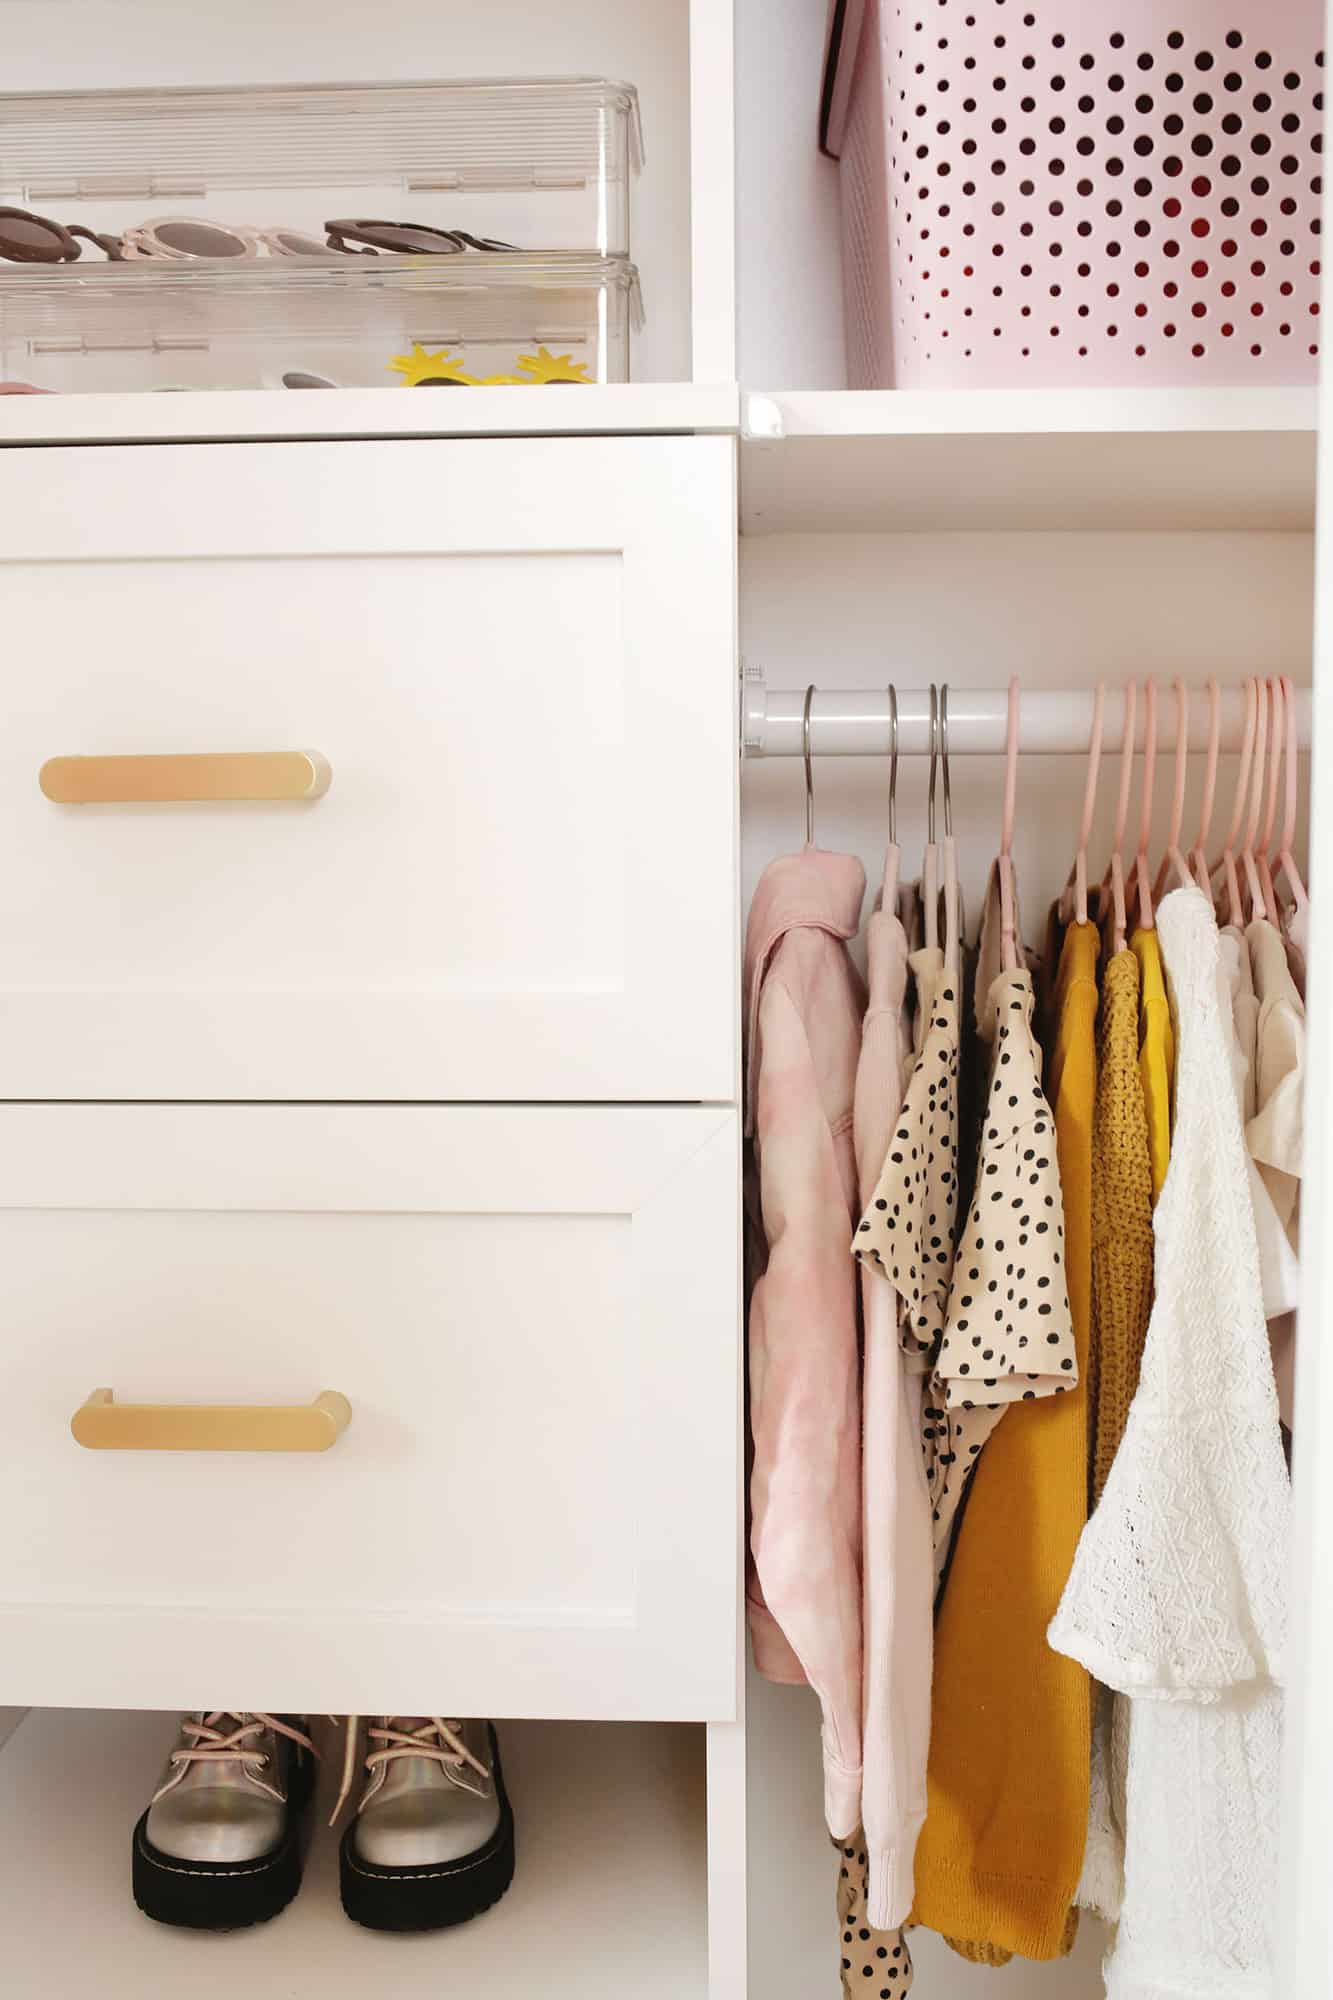
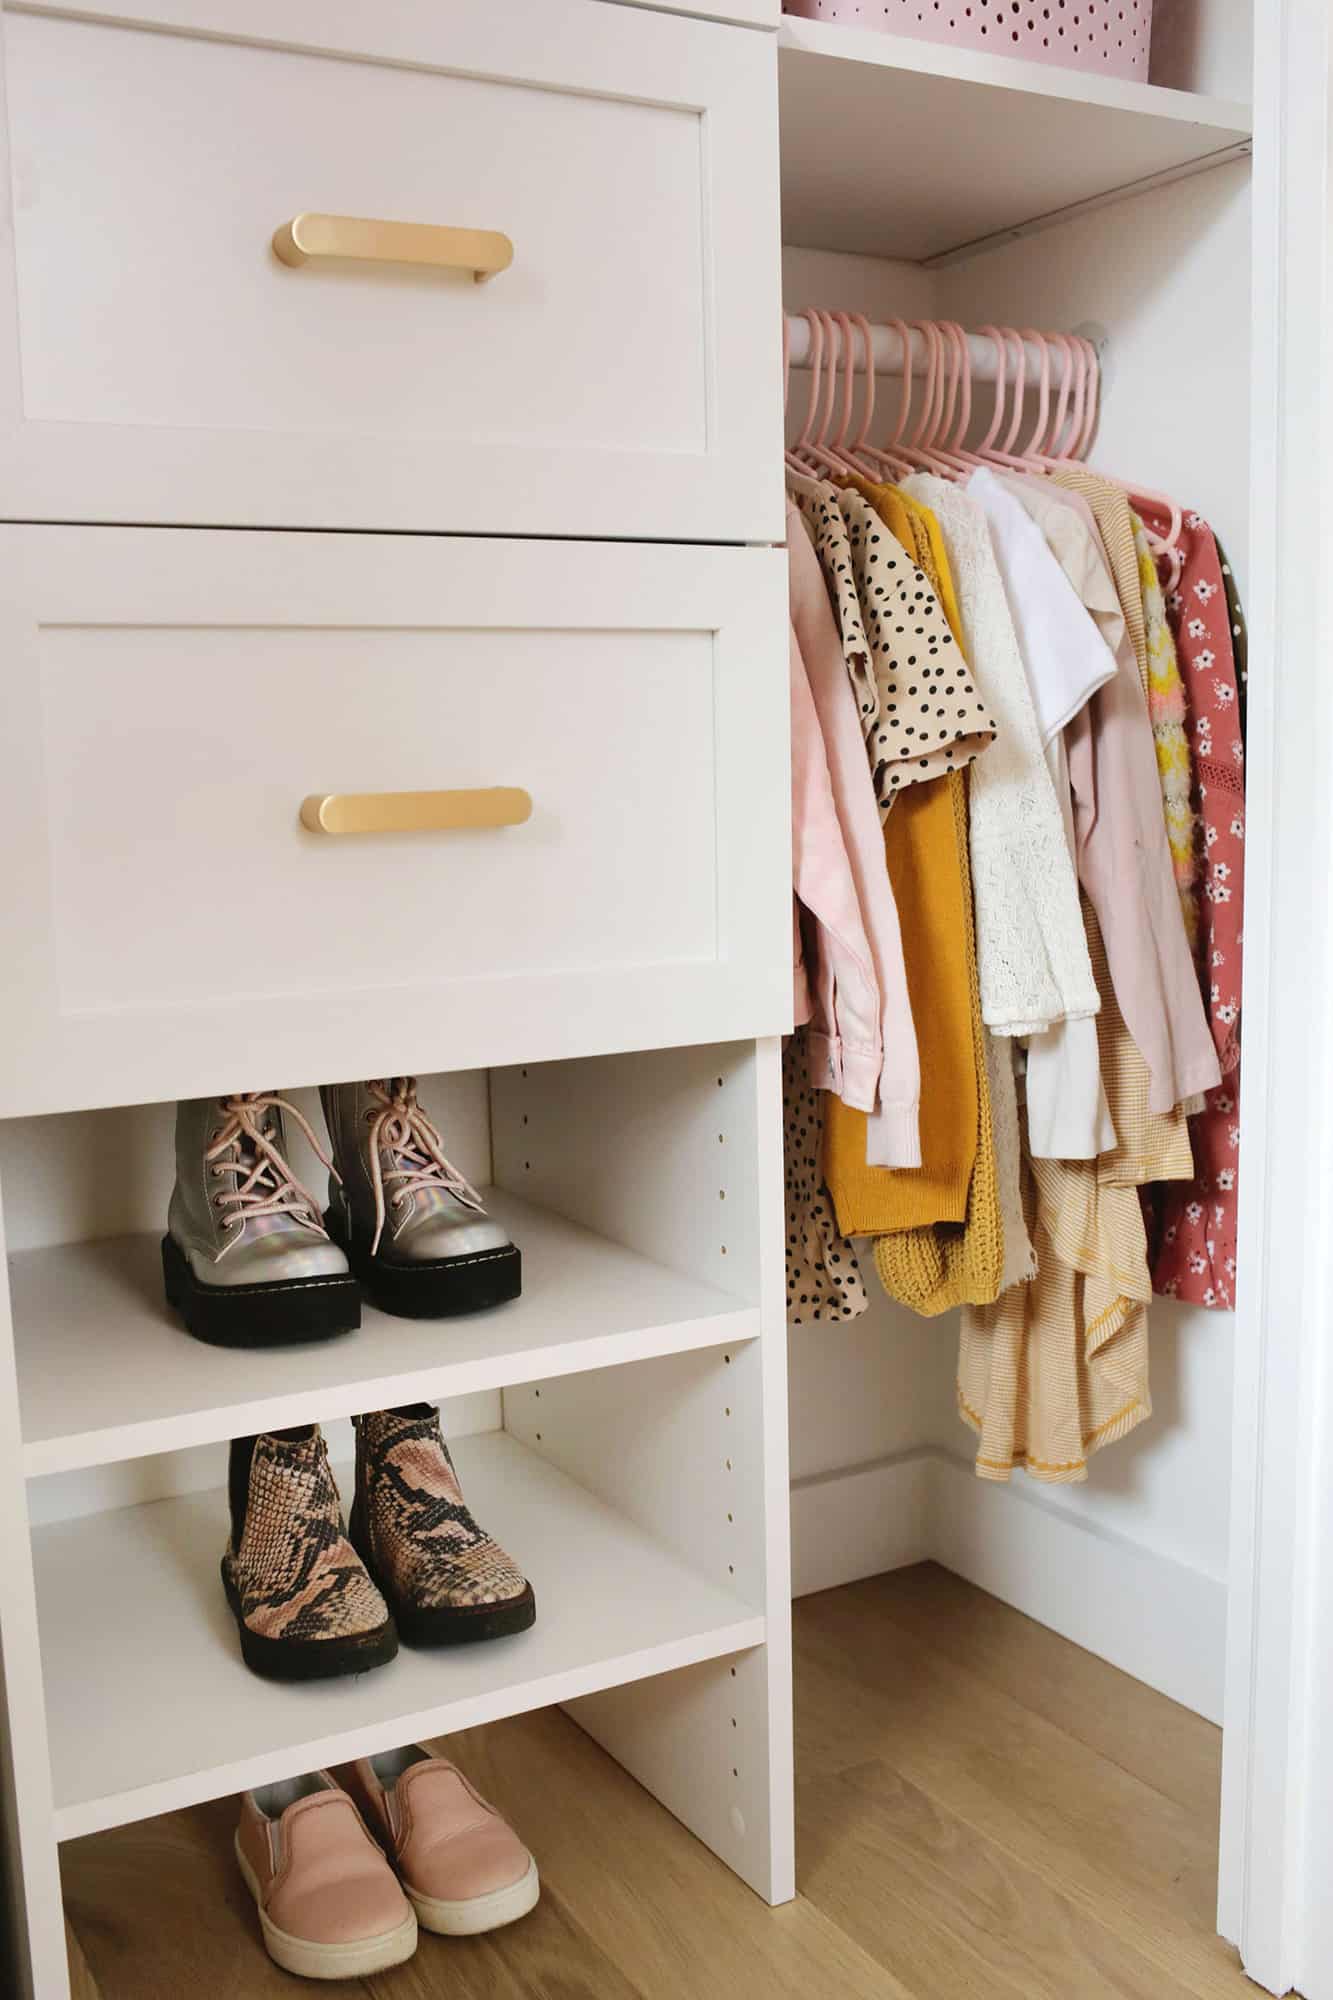 2. Choose higher or lower rod placements based on age of closet user and/or intended garment length: This is also another way to make the space fit exactly who is using it or what you are hanging there. If you have a closet that’s for a kid and you want them to be able to get to the clothes (kids love to learn to dress themselves), then you’ll want to have rods lower down where they can reach. If you’re mostly hanging a lot of jumpsuits or maxi dresses for adults, then you’ll primarily want rods near the top of the closet and if you have mostly shorter items (like my husband, who doesn’t have any long dresses to hang in his wardrobe), then you can use lower rods for clothes if you prefer to have mostly shelves up top. Some closet systems come with rods that go with the system, but I switched them out so I could get matching white rods and I used these rods and brackets and cut them to size with a hacksaw since I needed a pretty short length. You can also get adjustable rods like these in the size you need so you don’t have to cut them to size.
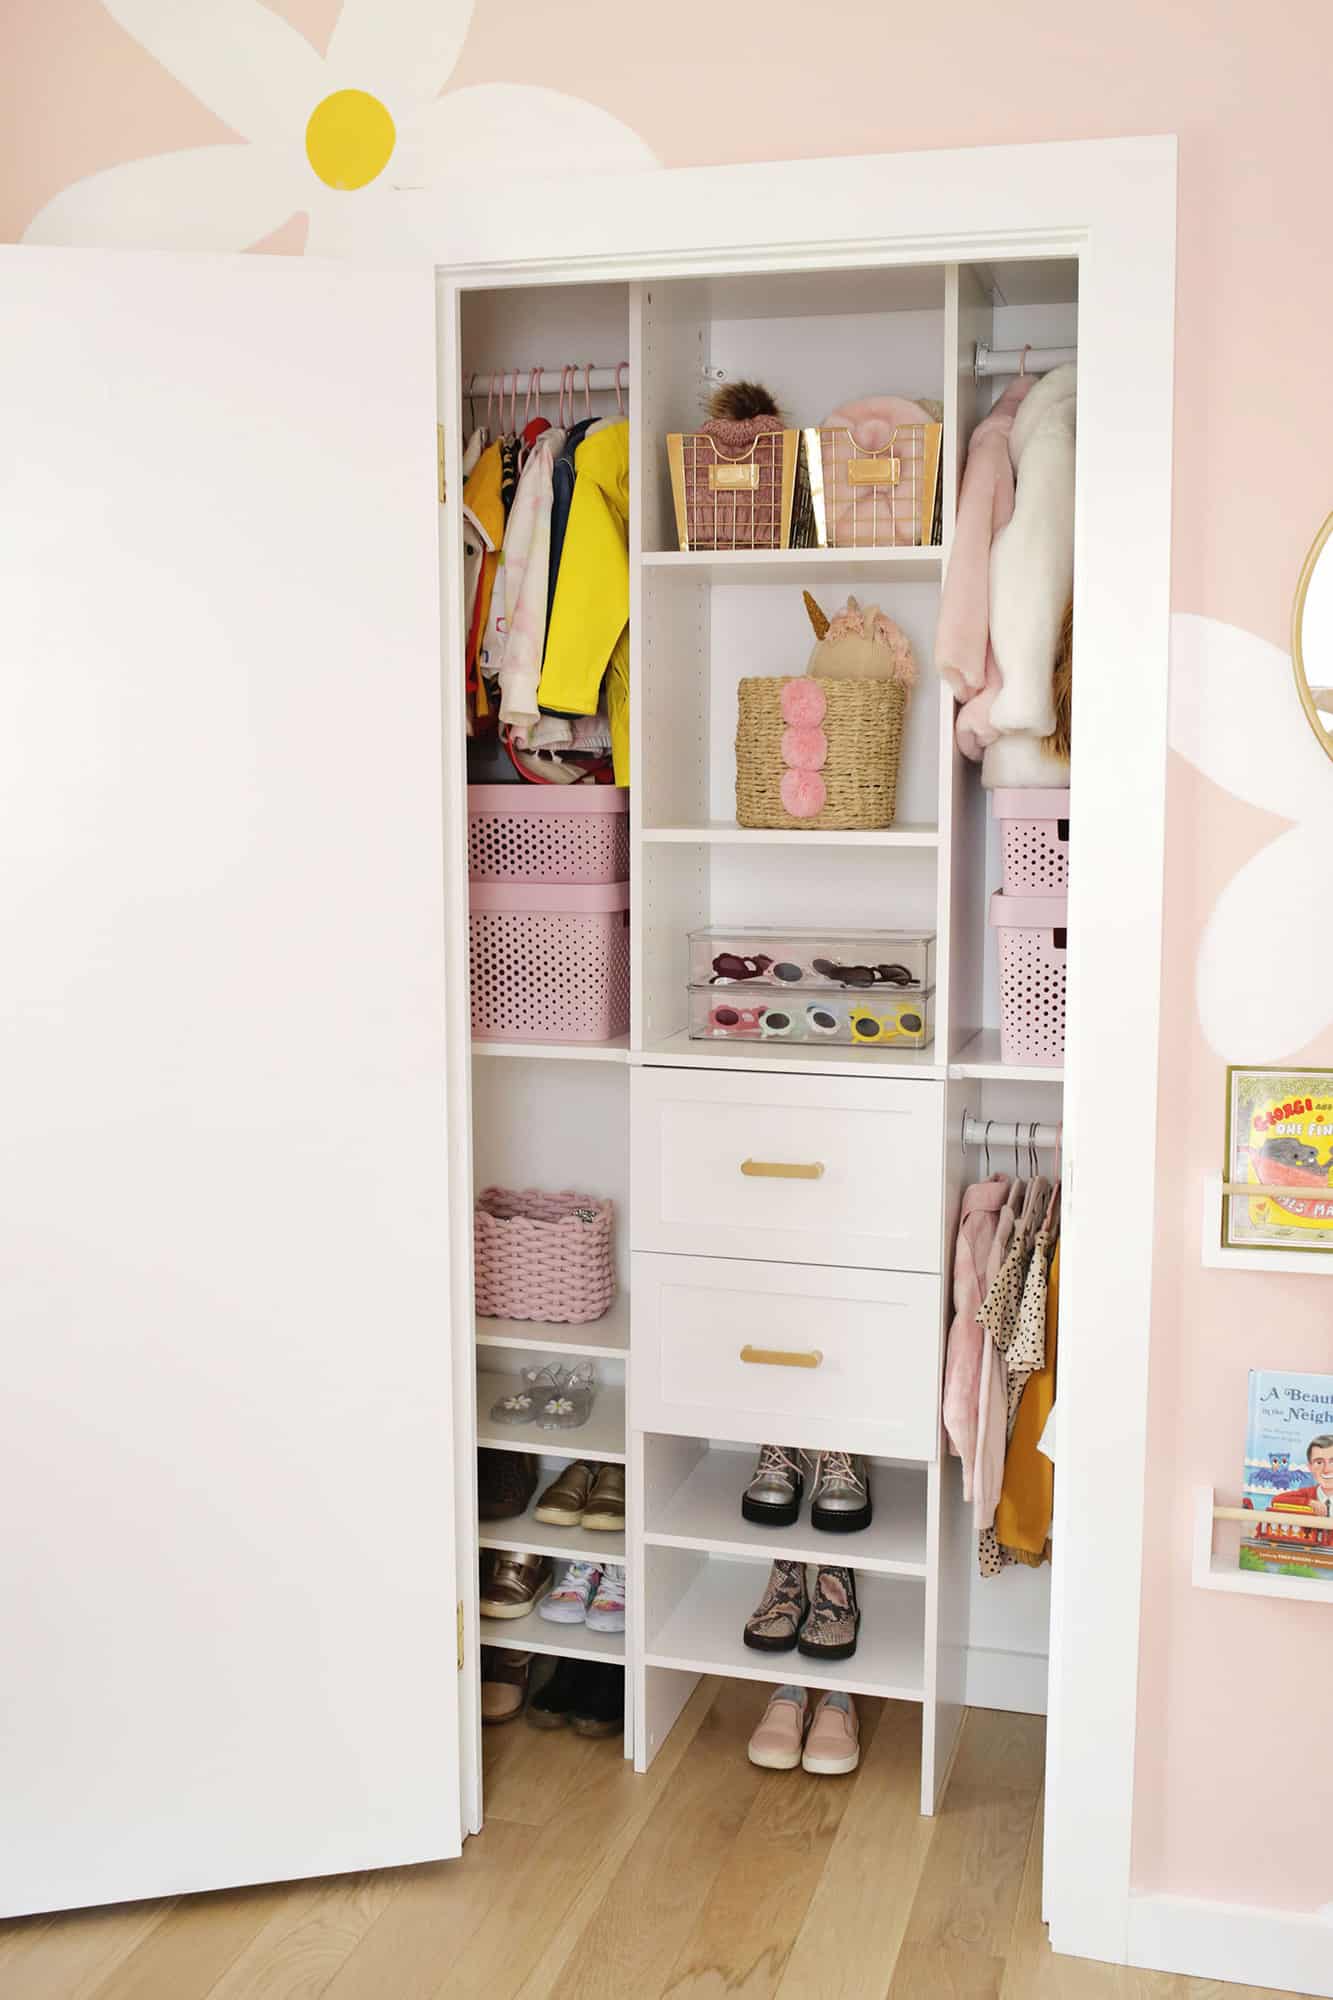
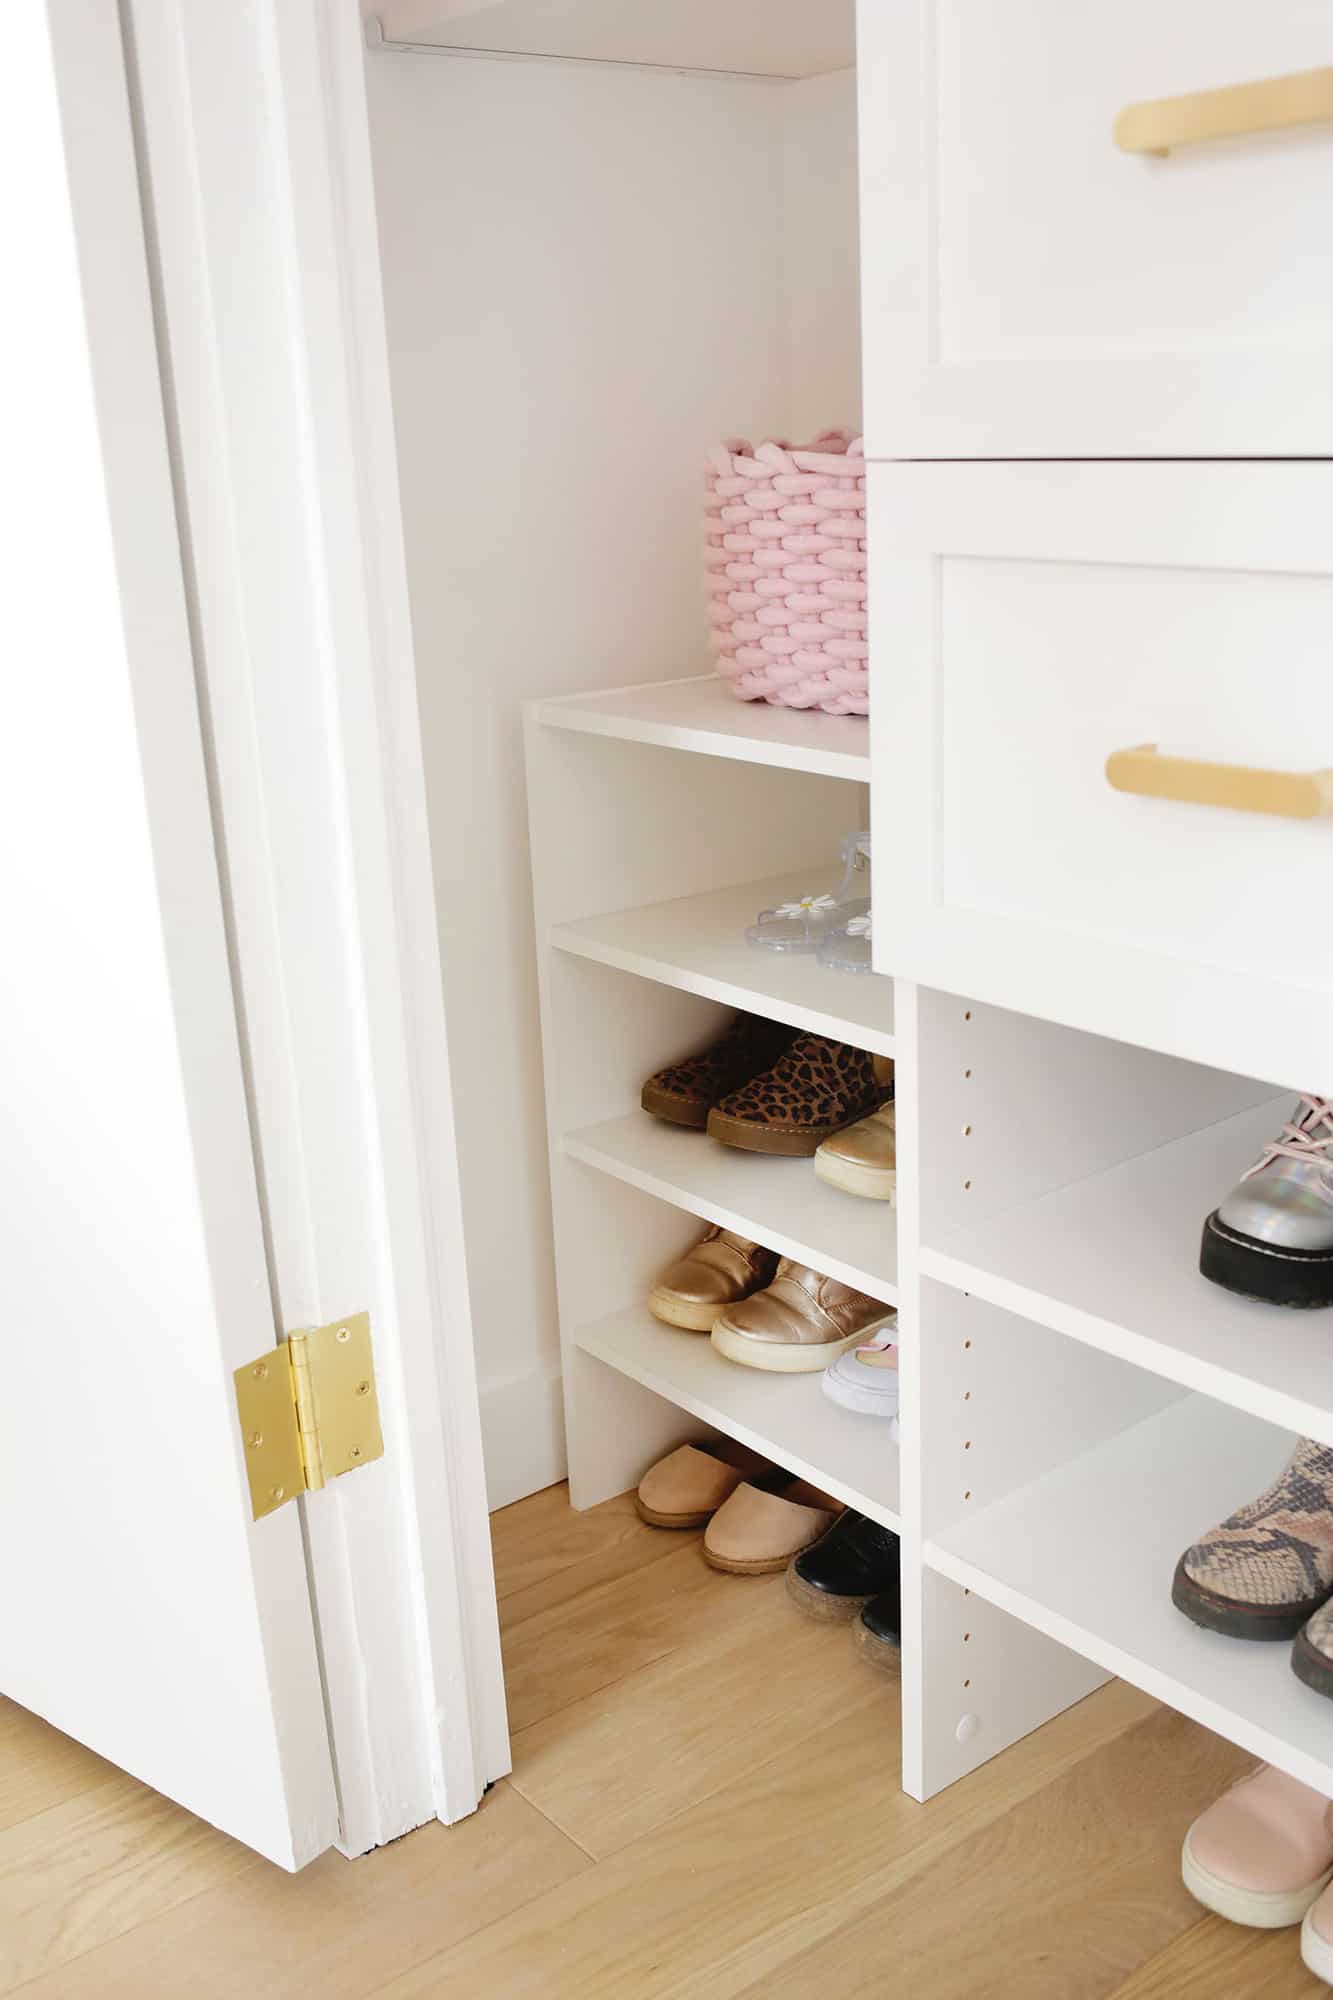 3. Add in individual shoe racks on the floor for more easy shelves: I liked having built-in shoe racks in my last closet, but to keep Lola’s closet a little more simple, I found a white shoe rack that was just the right size to fit next to the closet system and it was a really easy way to get more shelf storage quickly. My only regret is not putting it together and in place before securing the main tower and rods to the walls as it’s a perfect fit for the space, but too big to get through the opening once the tower was already there. I had to use an extension bit on my drill and build in the tiny space which was a bit tough, so if you do it, put your shoe racks in first if you’re tight on doorway space! These are a good option for longer spaces and you can stack them too.
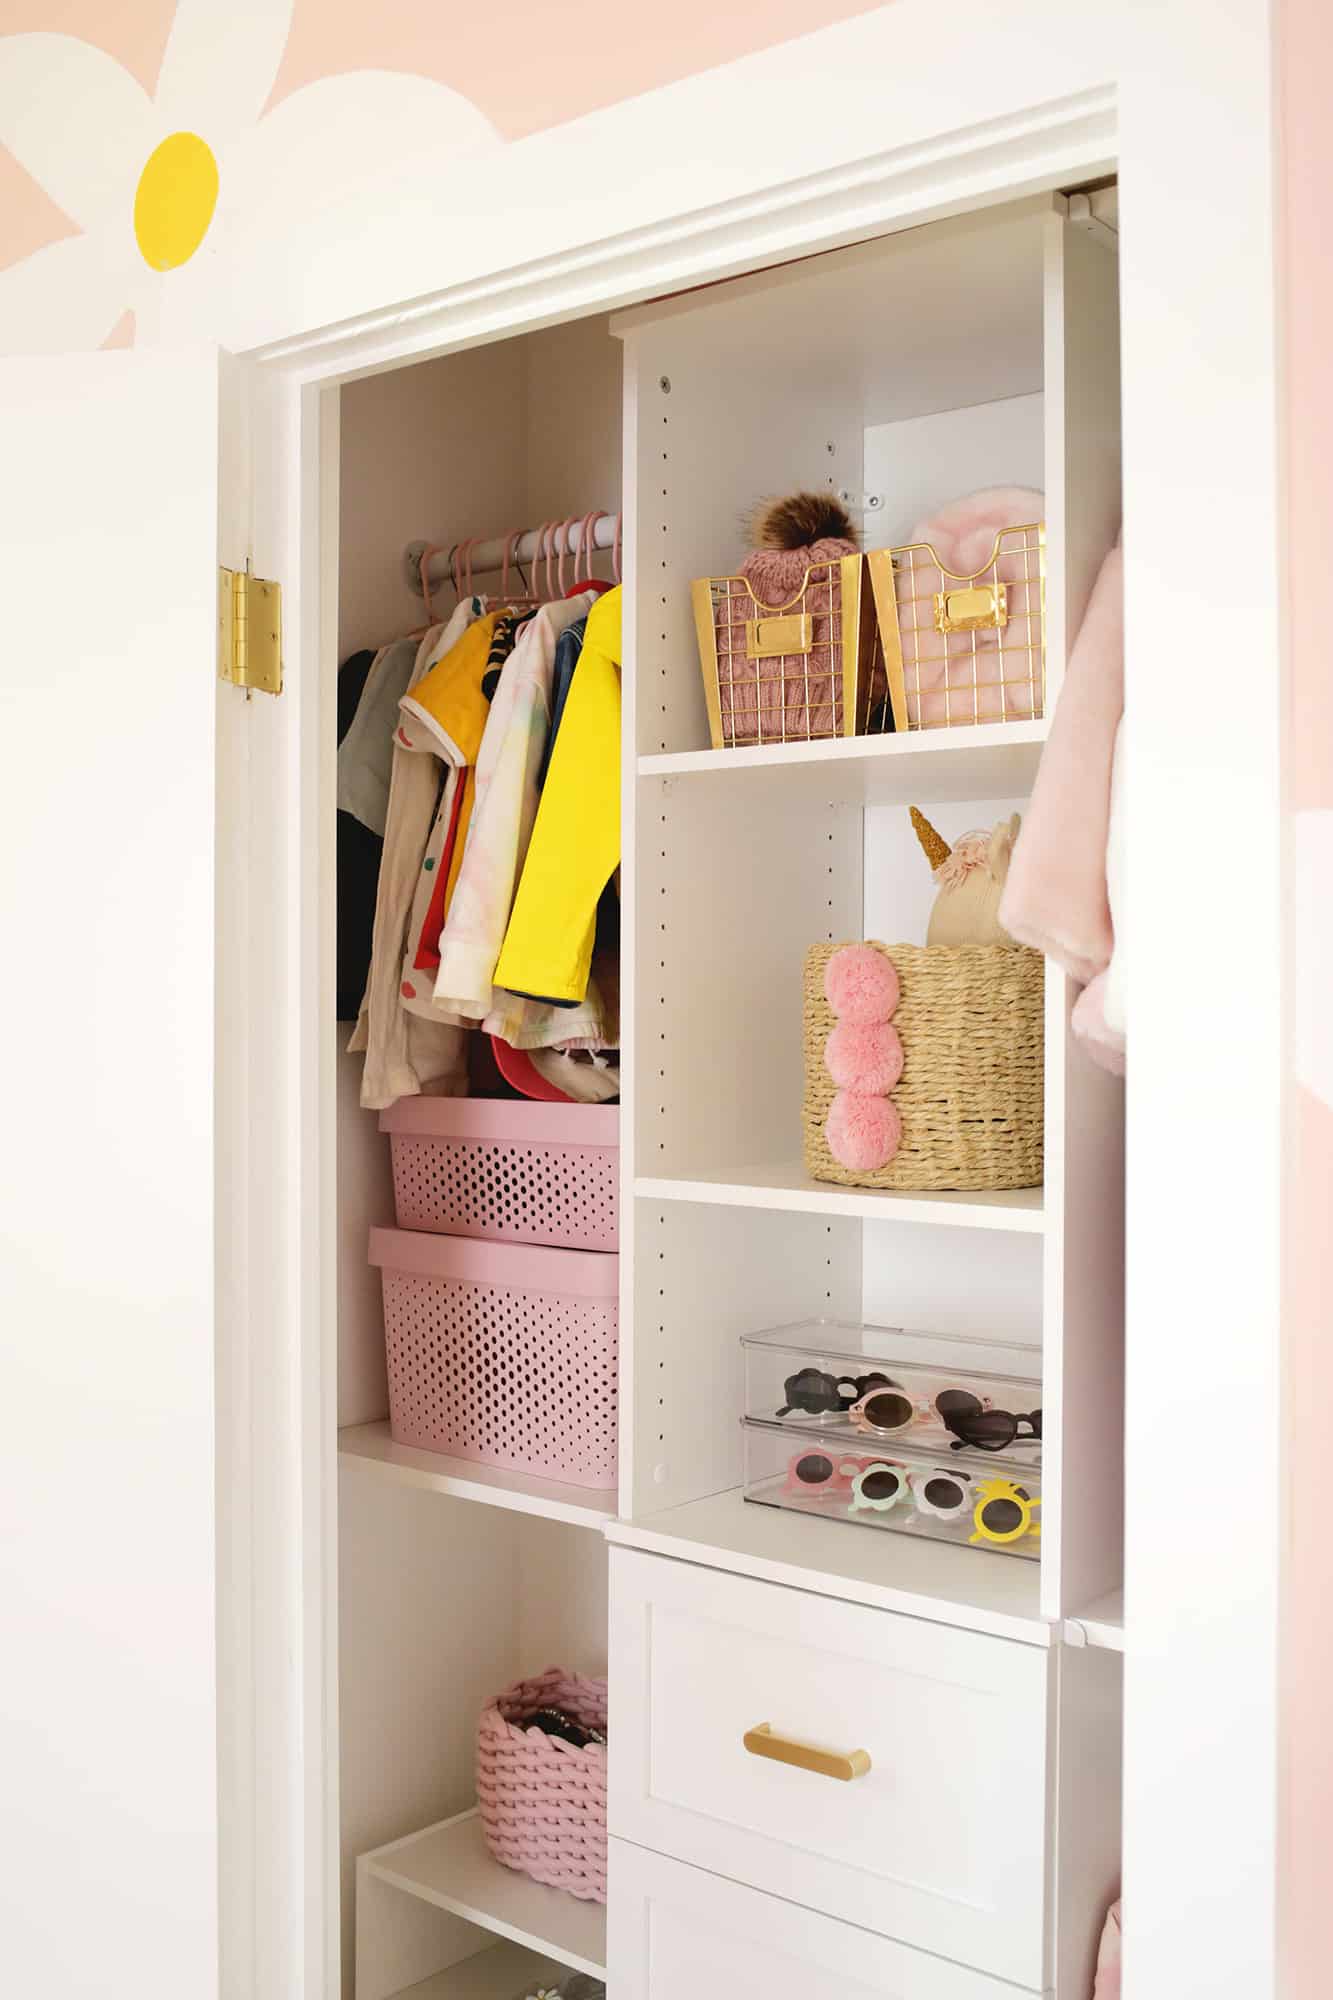
 4. Turn a shelf into a drawer: A nice thing about most closet systems is that you can buy drawers that are the same size as your tower so you can add a drawer wherever you want one instead of a shelf! I got two for Lola’s tower and it’s really nice to have that option as opposed to only shelves and baskets.
5. Cut a board to get more smaller shelves: I realized the shelf boards that you use to add shelves to the sides of the tower are the same depth as the boards that go inside the tower, so if you aren’t happy with the amount of shelves that come with the tower system, you can buy an extra board to cut more of them for the tower. Yay!
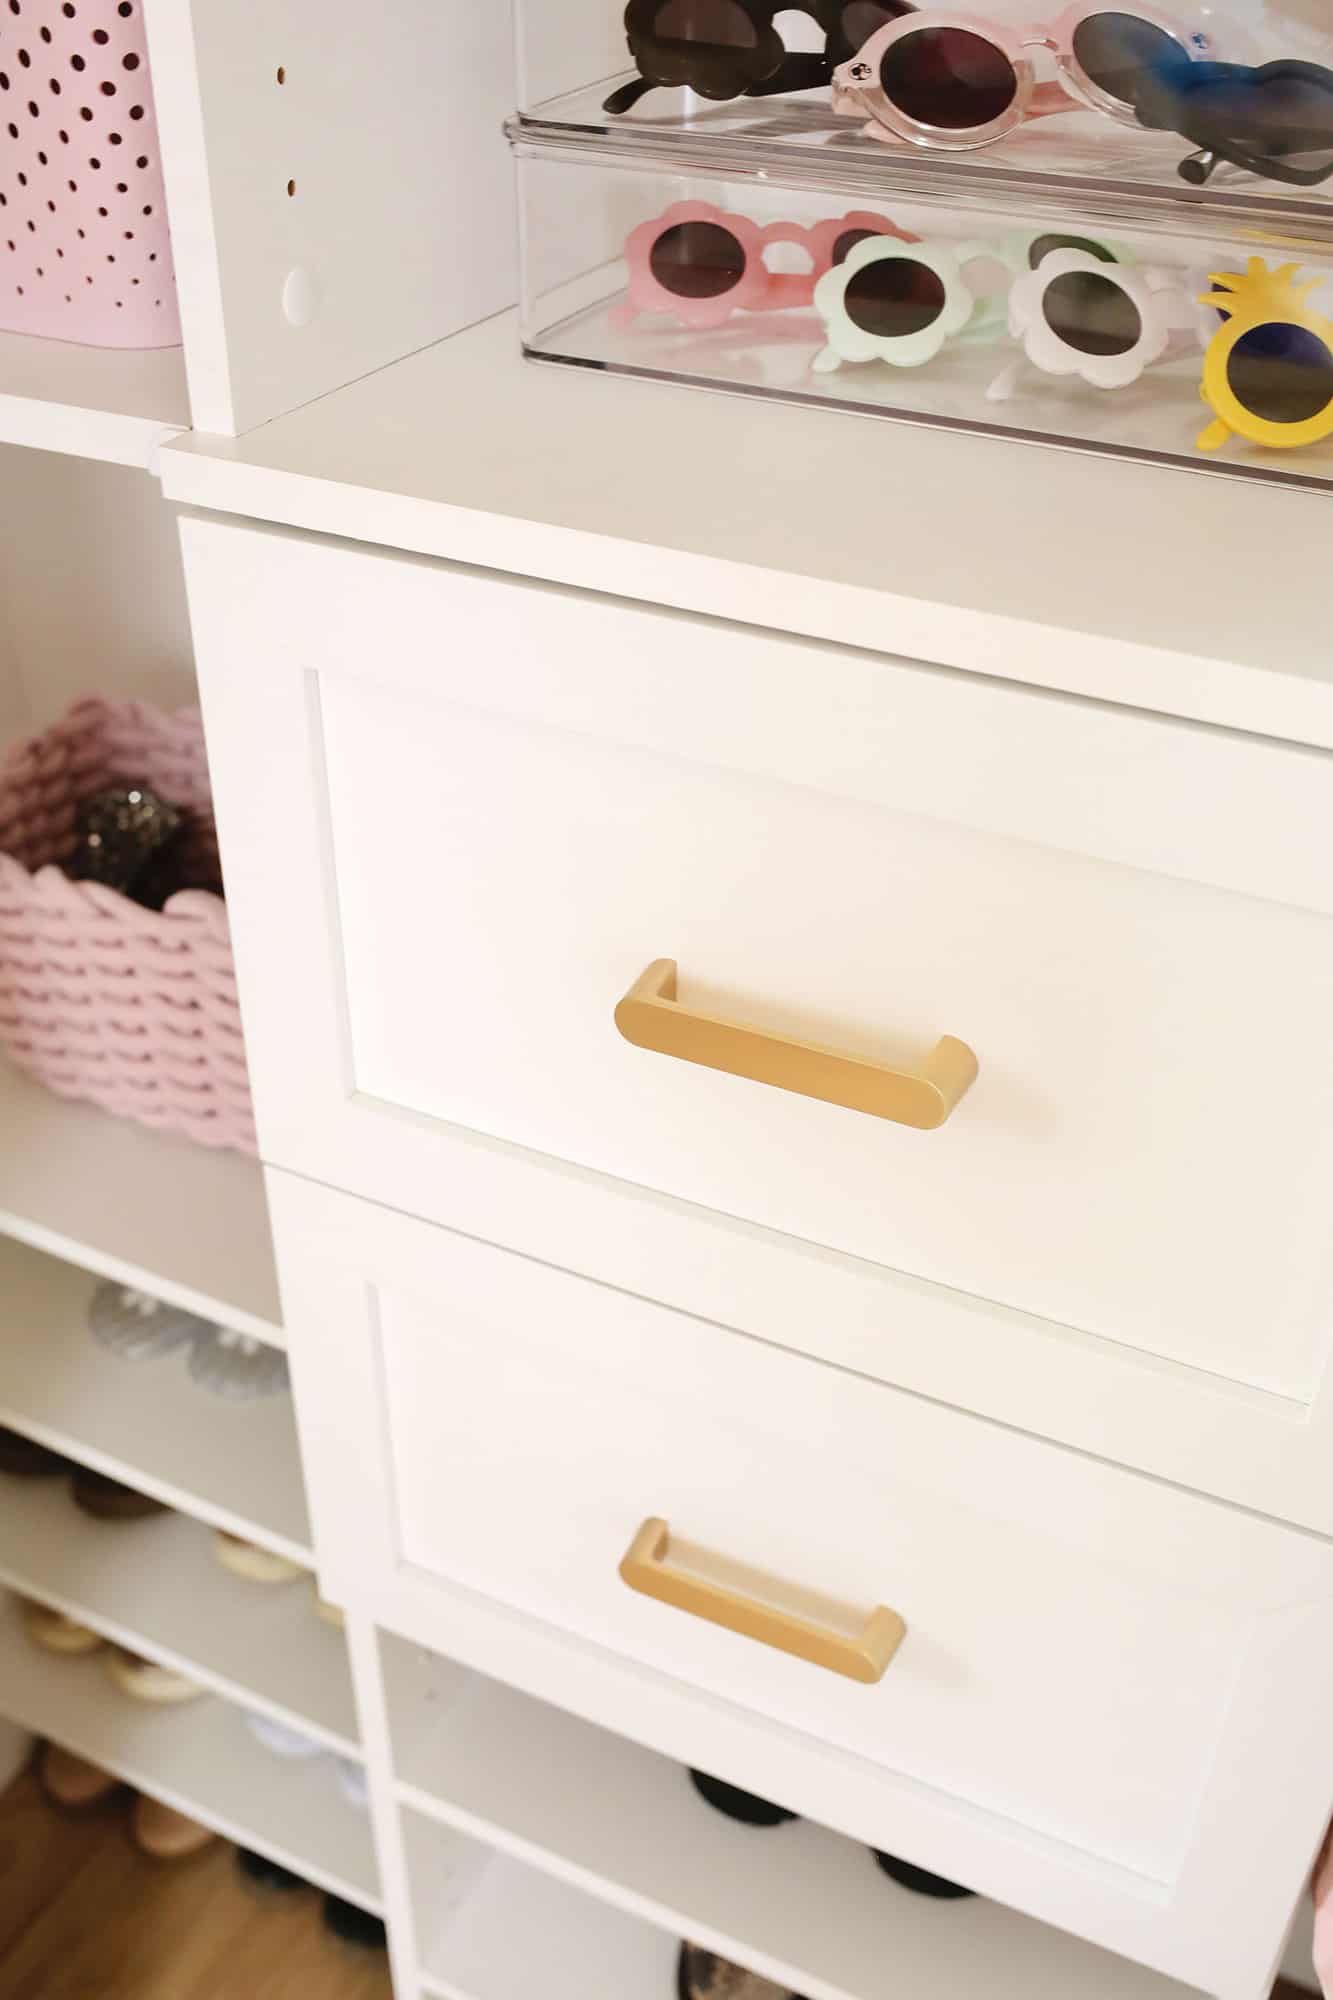
6. Switch hardware for more custom/quality handles and knobs: I wasn’t really a fan of the silver handles that came with the system, so I looked for other handles that had the same center-to-center measurements and got these instead! Switching out hardware on furniture is always a really easy way to make it look more custom and luxe.
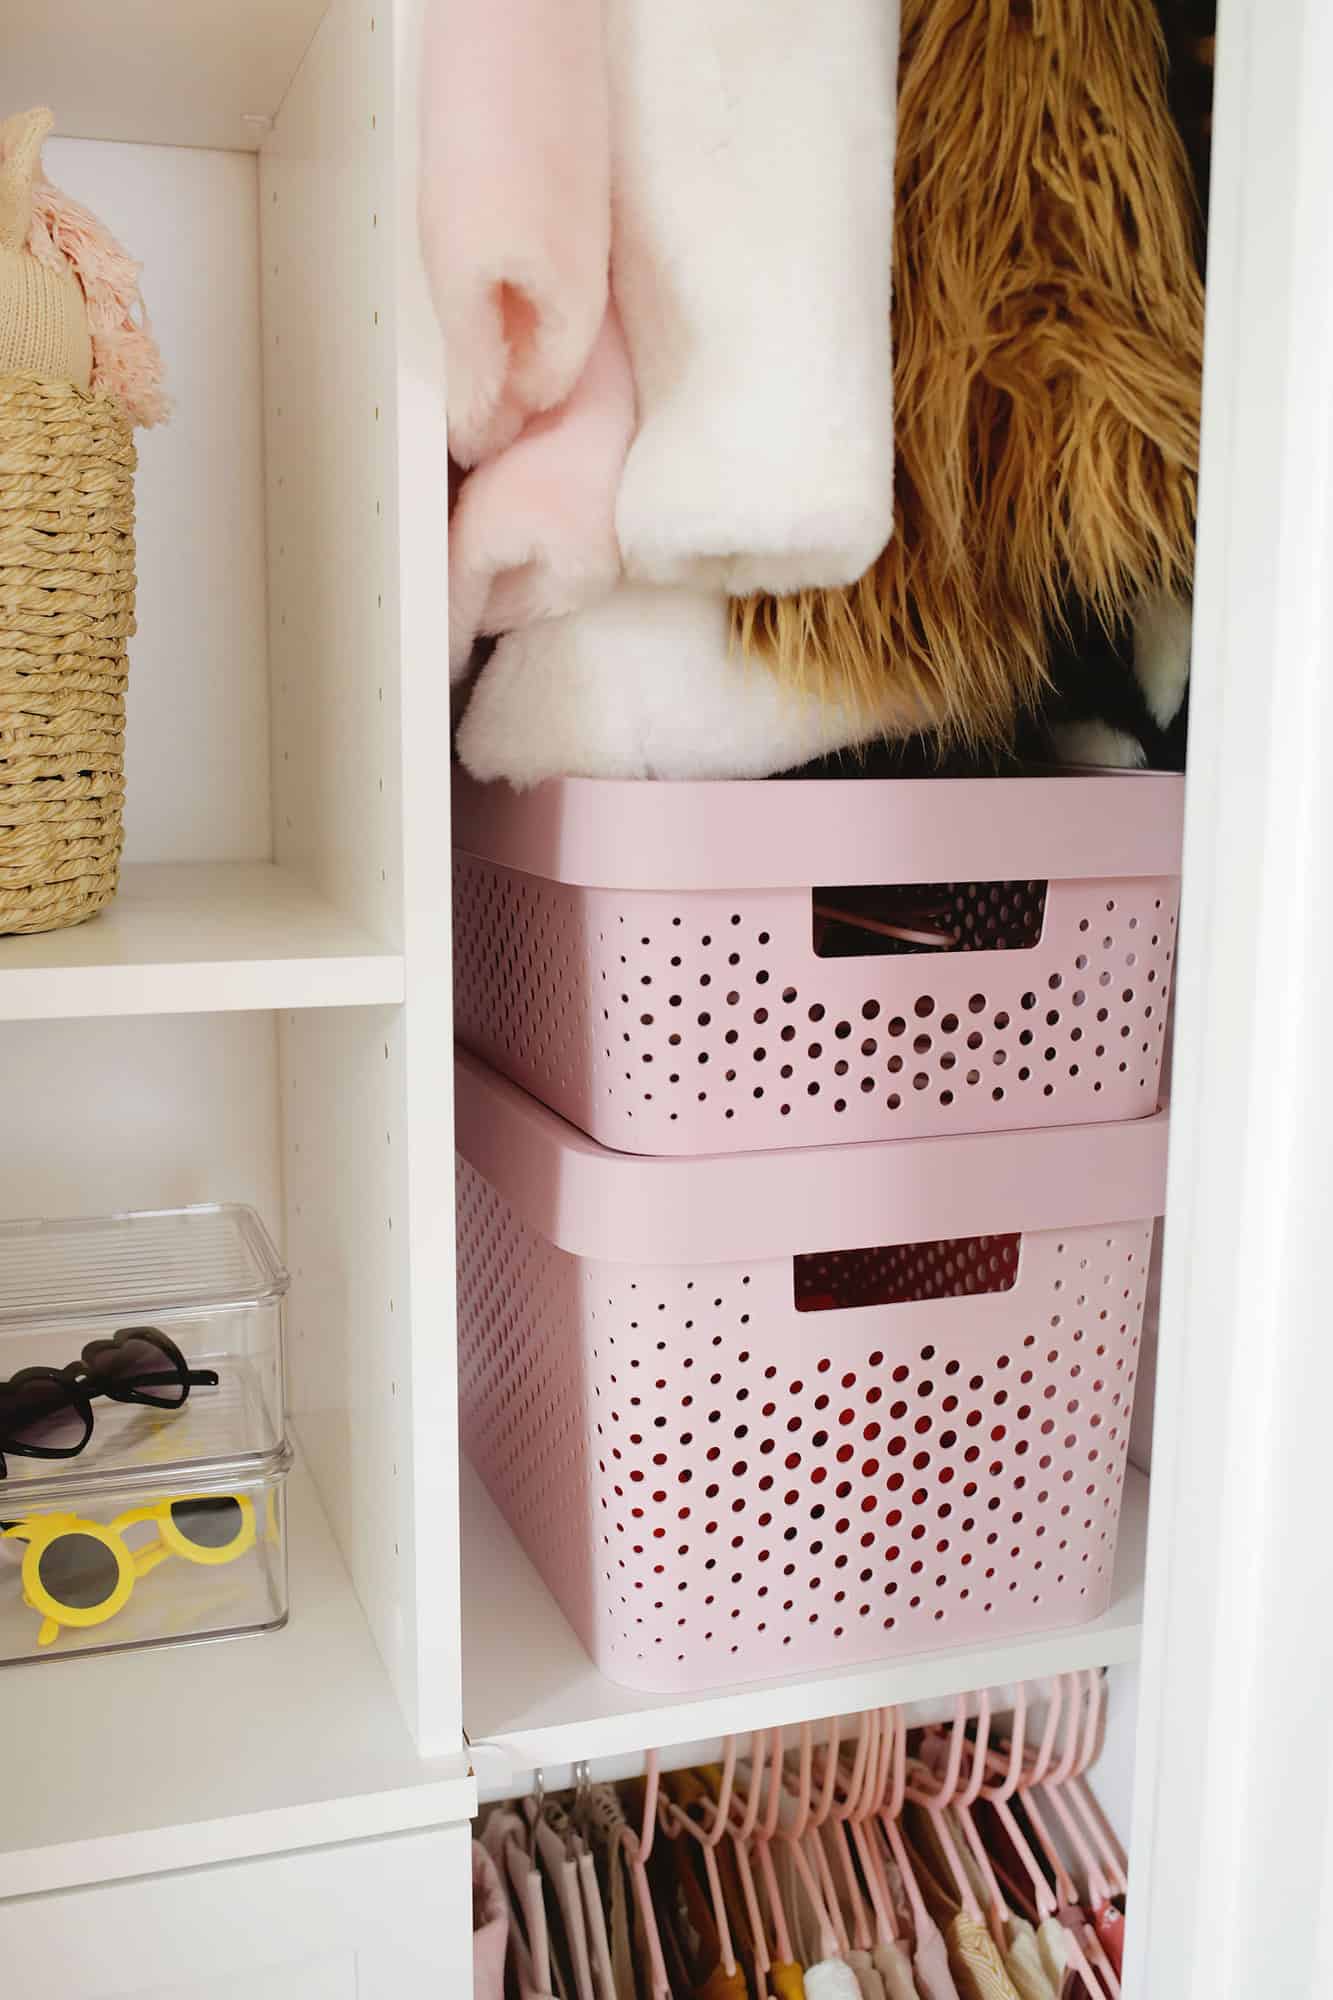
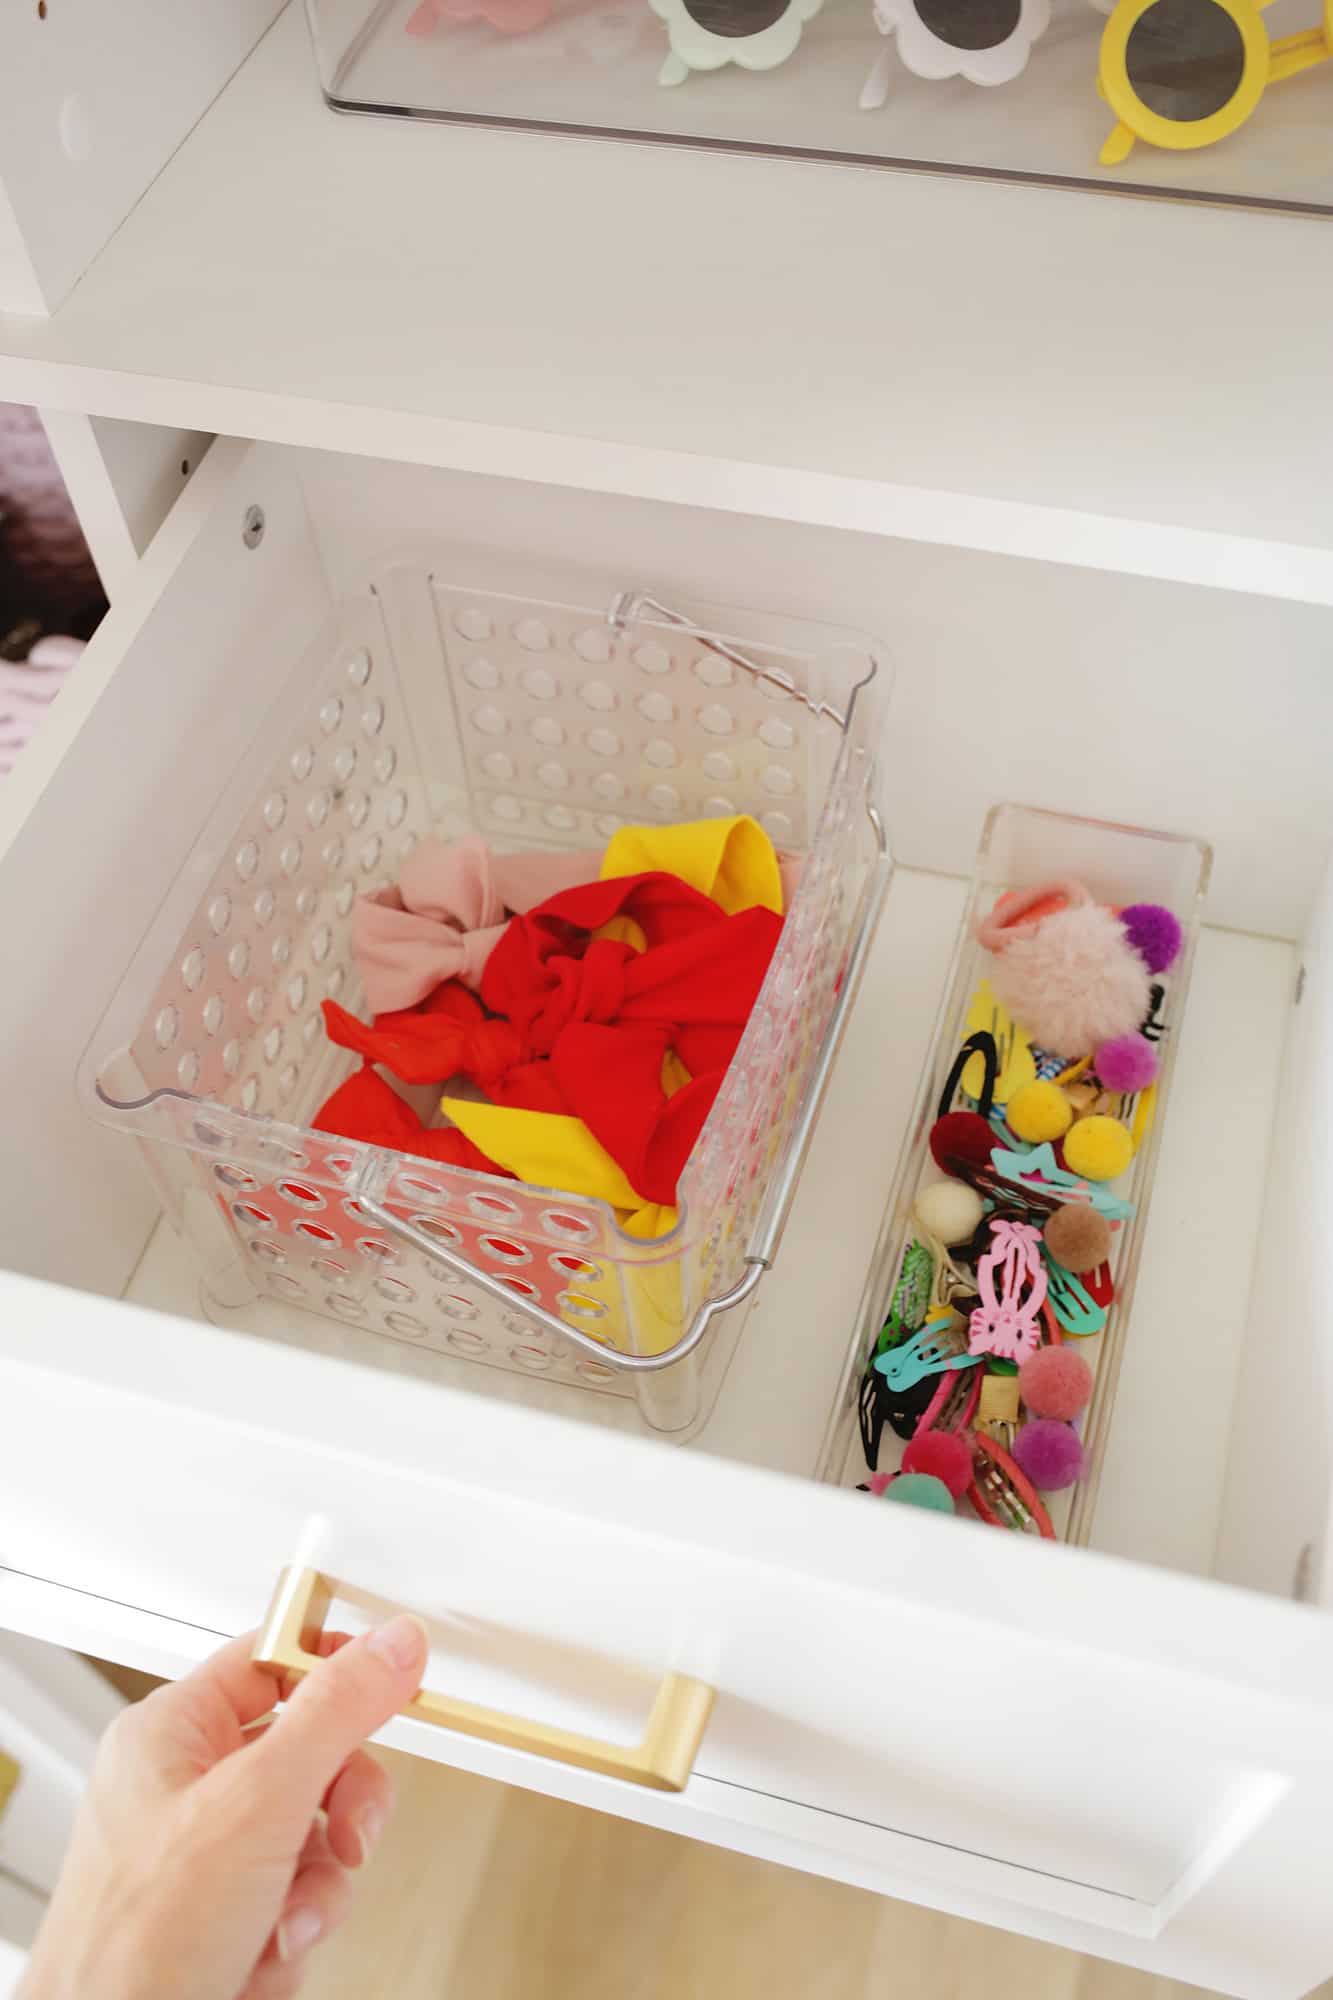
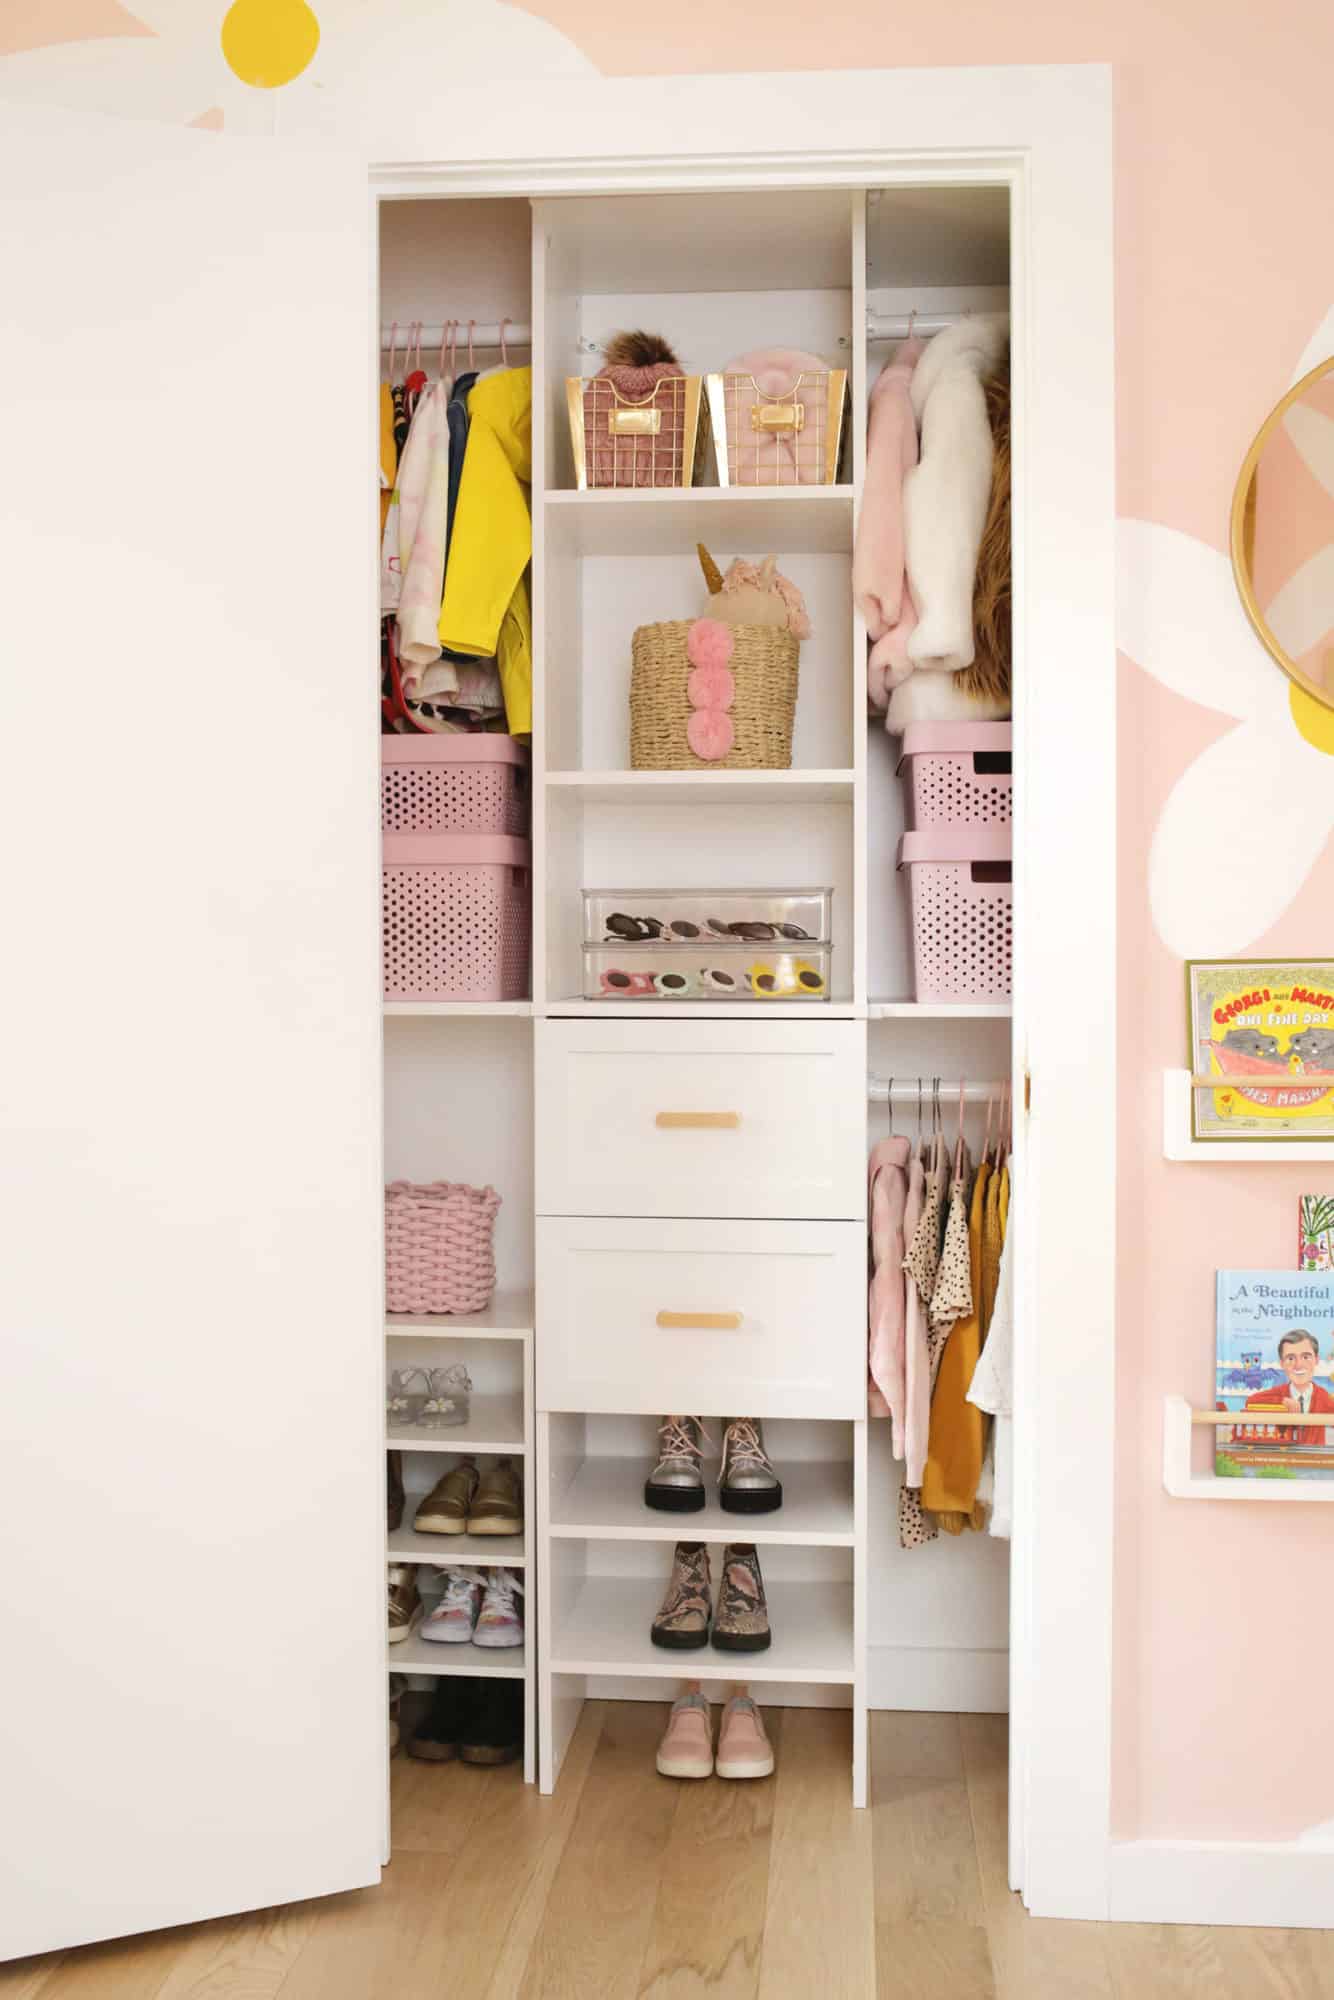
7. Add your own storage boxes to further segment the areas into organized space: Don’t let those open shelves even have a chance to become chaotic! Get bins or baskets for each area so everything is contained and has a place from the start. I love these recycled pink boxes to store her extra hangers and swimsuits, and these stackable clear boxes are perfect for accessories like her sunglasses (and she can get to them easily herself which is great). Metal bins like these are great for her hats, this pom pom basket is just the cutest for storage, and I love small trays like these for little items as well.


 There you go! Easy ways to make an ordinary store-bought closet system into a dream space to organize all your closet needs. I really can’t tell you what a breath of fresh air it is to open her closet now and see all this organized happiness in one place (also, am I the only person who thinks kid’s hangers are so cute?). One other tip I have for you with these tower closet systems is to use a jig saw to notch out a little area where the baseboard is at the back bottom of the tower (so the whole thing sits flush against the wall rather than out with a gap between it). Just that little step makes it look a lot more like a real built-in closet! Now, who’s ready to get organized?! xo. Laura